


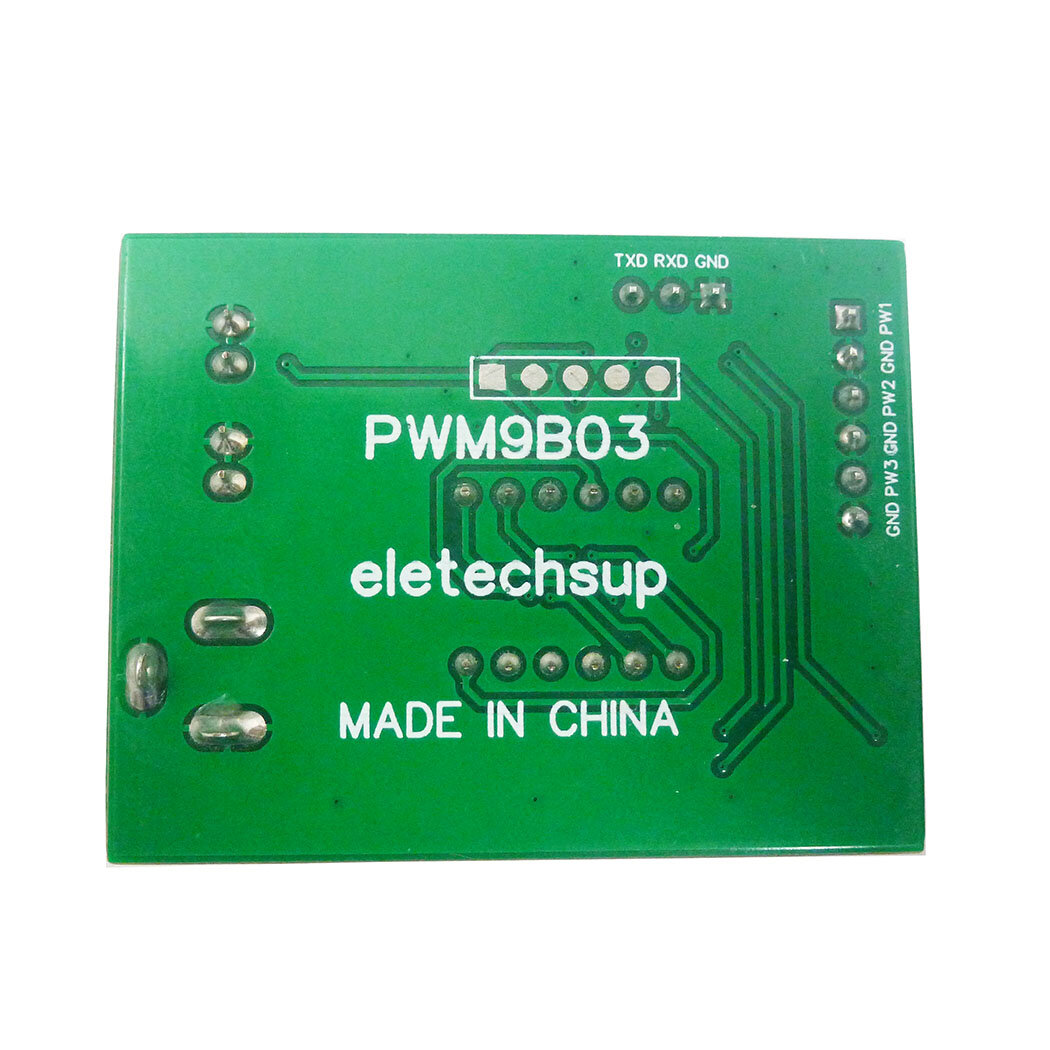

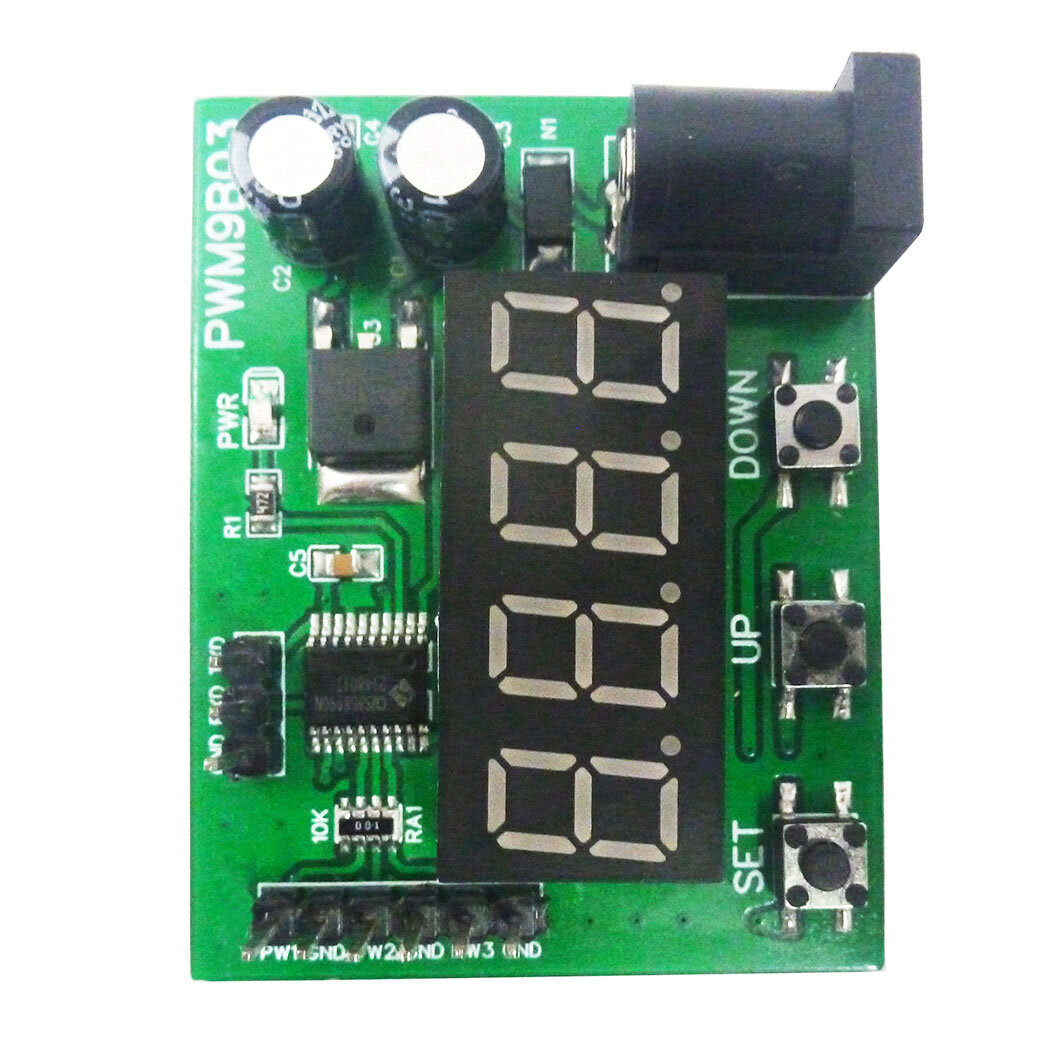
PWM9B03 3-Channel PWM Pulse Signal Generator Module

 Direct purchase from the factory
Checkout Sicuru Garantitu

 Regalu Gratuitu
 Pulitica di Spedizione
 Pulitica di Ritornu
Regalu Gratuitu
Benvenuti à Roymall, u vostru situ web prufessiunale per l'acquistu di regali di magazini di alta qualità. Apprezzemu è valutemu u vostru supportu, è vulemu esprime a nostra gratitudine aghjunghjendu un toccu in più di eccitazione à i vostri acquisti. Quandu cumprate cù noi, ùn solu ottenete prodotti di alta qualità chì migliuranu a vostra vita, ma riceverete ancu un regalu gratuitu esclusivu cù ogni ordine. Prontu à esplorà a nostra cullezzione è truvà i vostri regali perfetti? Navigate a nostra selezzione di articuli di magazini di alta qualità, fate u vostru ordine, è aspittate l'eccitazione di riceve u vostru regalu gratuitu inseme à u vostru acquistu.Pulitica di Spedizione
Lavoreremu duramente per spedisce i vostri ordini è assicurà chì arrivinu sicuramente. I dettagli di spedizione saranu furniti in a vostra email di cunferma.In a maiò parte di i casi, l'ordini sò trattati in 2 ghjorni. In circustanze speciali, puderia esse ritardatu cusì: Quandu fate un ordine u sabbatu, dumenica o festivi, sarà ritardatu di 2 ghjorni.Di solitu, ci vole 5-7 ghjorni lavurativi (da lunedì à vennerì) senza esse affittatu da ritardi di volu o altri fattori ambientali.Perchè u nostru serviziu di spedizione hè mundiale, i tempi di consegna dipenderanu da a vostra lucalisazione, dunque puderia esse necessariu qualchì tempu è aspittate pazientemente sè site in distretti o paesi rimoti.1. Pulitica di Ritornu & Scambiu
Accettemu solu articuli cumprati da roymall.com. Sè cumprate da i nostri distributori lucali o altri rivenditori, ùn pudete micca riturnalli da noi. I articuli di vendita finale o i regali gratuiti ùn sò micca accettabili per un ritornu.Per esse eligibile per un ritornu, u vostru articulu deve esse inutilizatu è in a stessa cundizione chì l'avete ricevutu. Deve ancu esse in u so imballaghju originale.Dopu avè ricevutu e istruzzioni di ritornu da noi, imballate i vostri articuli è depositatu u vostru pacchettu à l'uffiziu postale lucale o un altru corriere.Tratteremu u vostru ritornu o scambiu in 3-5 ghjorni lavurativi dopu avè ricevutu l'articulu. U rimborsu sarà trattatu è accreditatu automaticamente à u vostru metudu di pagamentu originale.Ùn sò micca accettati ritorni o scambi sì u pruduttu hè statu pruduttu personalizatu, inclusu taglia personalizata, culore personalizatu, o stampa personalizata.Avete bisognu di più aiutu, cuntattateci. service@roymall.com o Whatsapp: +8619359849471
2. Pulitica di Rimborsu
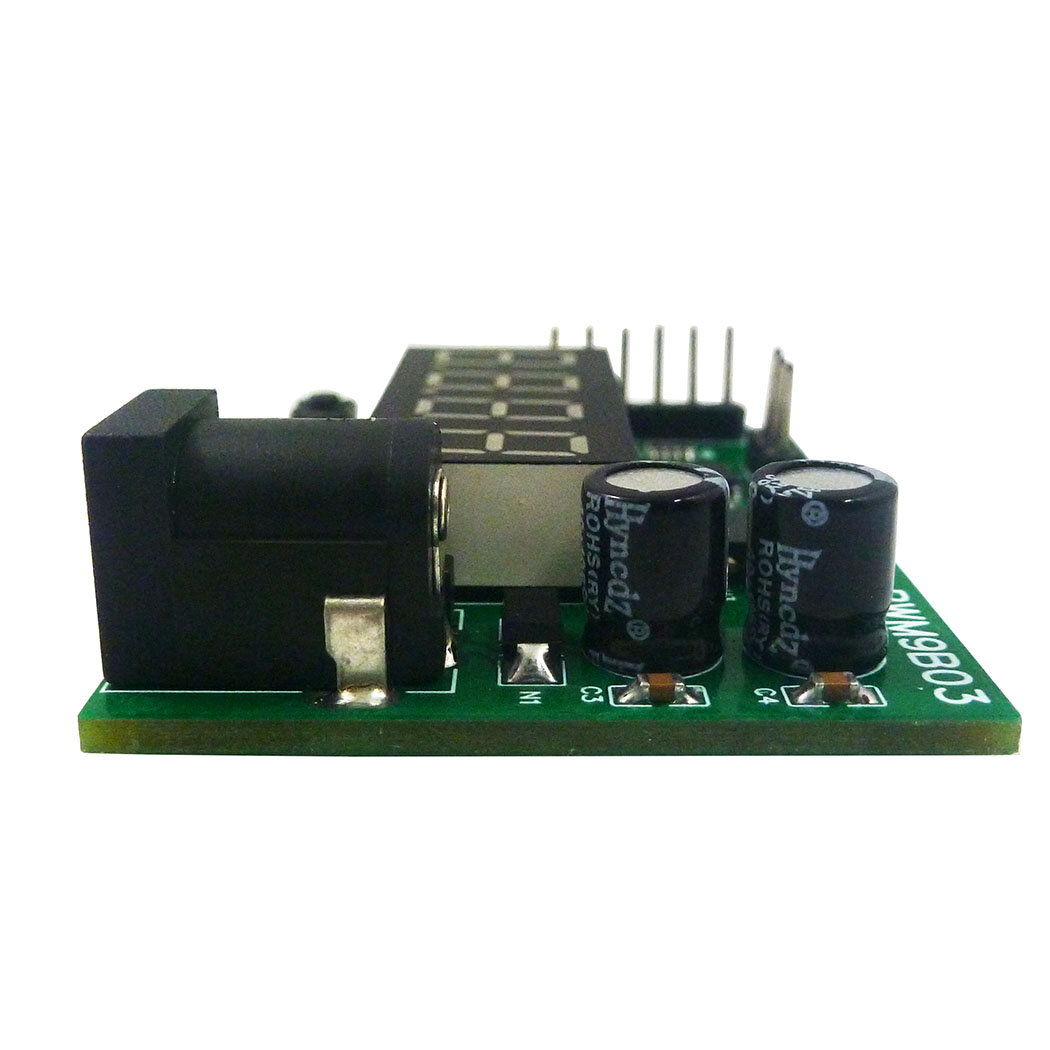
Otterete un rimborsu cumplettu o un creditu di magazinu di u 100% dopu avè ricevutu u pacchettu riturnatu è verificatu. U rimborsu sarà trattatu è accreditatu automaticamente à u vostru metudu di pagamentu originale.Per piacè nutate chì i costi di spedizione è ogni dazi o tariffe ùn sò micca rimborsabili. I costi di spedizione supplementari ùn sò micca rimborsabili una volta chì u pacchettu hè statu speditu. Siete rispunsevuli di pagà sti tariffe è ùn pudemu micca rinunzià o rimbursalli, ancu sè l'ordine hè riturnatu à noi. Dopu avè ricevutu è cunfirmatu u vostru articulu riturnatu, vi mandaremu un email per infurmà chì avemu ricevutu u vostru articulu. Vi infurmeremu ancu di l'appruvazione o u rifiutu di u vostru rimborsu.Sè avete qualchì prublema riguardu u prucessu di rimborsu, cuntattateci. service@roymall.com o Whatsapp: +86193598494711 Working voltage: DC 6-24V
2 Working current: DC 12-30MA
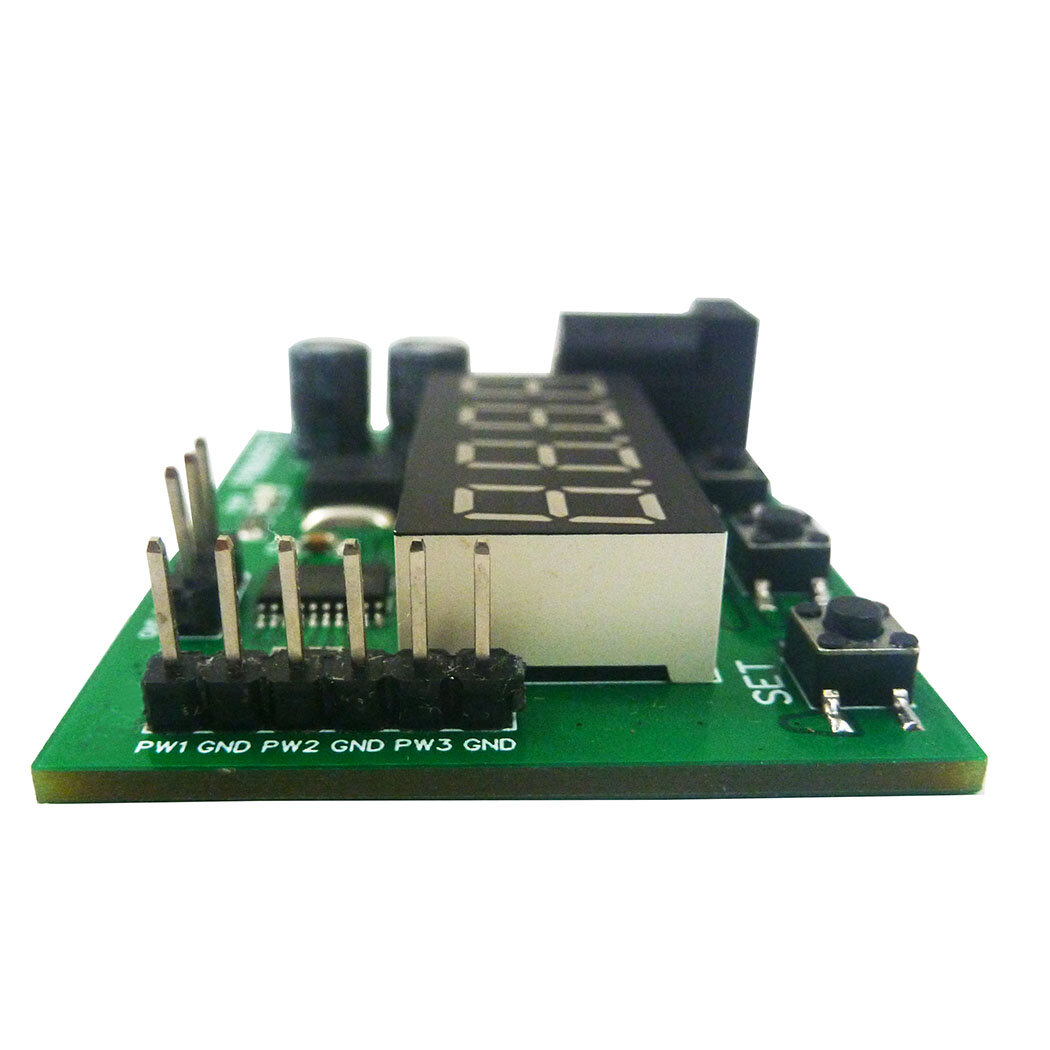
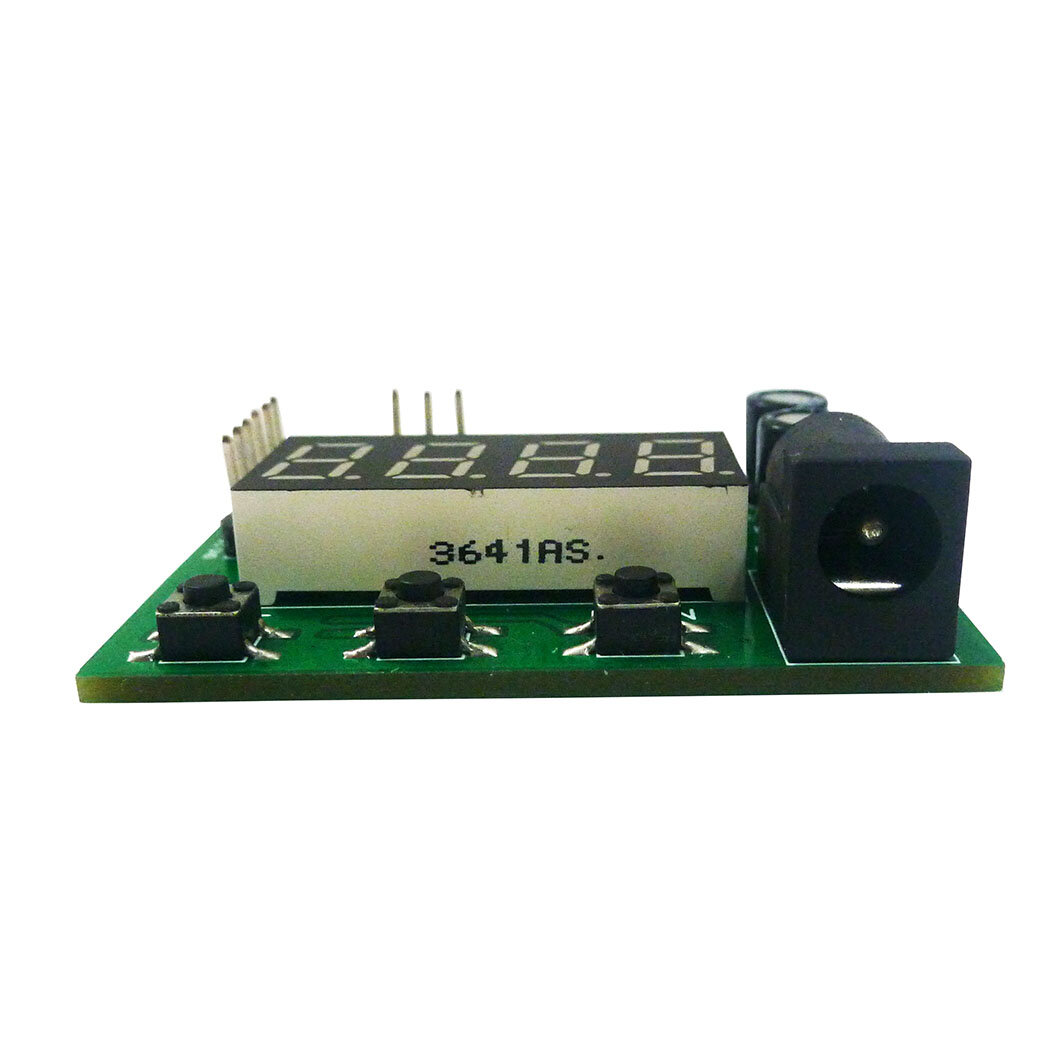
3 3 independent buttons: used to set frequency, duty cycle, working status, etc.;Support long press, short press, simple operation and diverse functions.
4 3 Channels PWM output: PWM Signal can set frequency and duty cycle respectively.
5 PWM signal level: 5V TTL level
6 PWM signal load capacity: <20mA
7 Output frequency accuracy: 0.6% (10-30 Degrees Celsius)
8 Ultra-high frequency range: 20HZ ~ 1MHZ, duty cycle 0-100%.
9. Power-off memory function: power off at any time, the last set data will be recorded and saved when power off, and the data will be displayed when power is turned on again.
10 Automatic exit function: If there is no operation for 36 seconds, the last set data will be automatically recorded, and the dynamic setting state will be exited.
11. Real-time update function: Under the dynamic setting function, you can connect an oscilloscope to grasp the set frequency and duty cycle at any time, and output the precise frequency or duty cycle.
12. Restore production setting function: in dynamic setting mode, press and hold the UP and DOWN buttons at the same time to restore the production setting (after pressing, you need to power off and power on again, the data will be updated to the default data)
13 kinds of application scenarios: The module has a variety of control methods and working modes, and three output channels, which can meet the requirements of different environments.
14 Dimensions: 49 x 38 x 13mm
15 Weight: 14.5g
PWM signal parameter description:
1 PWM frequency: the setting range is 20HZ ~ 1MHZ. The default value is 100HZ.
Four-digit digital tube, the decimal determines the unit of frequency. When there is a decimal point, the unit is KHZ, and when there is no decimal point, the unit is HZ.
The relationship between the digital tube display number and the output frequency:
0034: Indicates that the frequency is 34HZ
0234: Indicates the frequency is 234HZ
1234: Indicates the frequency is 1234HZ
1.234 : indicates that the frequency is 1.234KHZ
12.34 : indicates that the frequency is 12.34KHZ
123.4: Indicates the frequency is 123.4KHZ
0.123: Indicates that the frequency is 0.123KHZ (that is, 123HZ)
2 PWM duty cycle: setting range 0 ~ 100
0: The corresponding PWM remains low
100: The corresponding PWM remains high
1 ~ 99: corresponding duty cycle 0.01 ~ 0.99
The relationship between the digital tube display number and the output duty cycle
0005: Indicates that the output duty cycle is 0.05/5%
0050: Indicates that the output duty cycle is 0.50/50%
Note: 1. Other combinations are also possible, but whether the data can be more accurate is related to your test tool
Package include:
1u00d7 Module Board
How to set PWM output parameters:
Example 1:
For example, the parameters of the three channels are 100HZ/50%, 200HZ/60%, 300HZ/70%
View the parameters of the three channels:
1 Powered on PWM9B03 module, the PWR indicator is on, and the digital tube is off
2 Click the SET button to display PF1 (for 1 second), and then normally display 0100 (channel 1 frequency 100HZ)
3 Click the SET button twice to display dU1 (for 1 second), and then normally display 0050 (channel 1 duty cycle 50%)
4 Click the SET button three times to display PF2 (for 1 second), and then normally display 0200 (channel 2 frequency 200HZ)
5 Click the SET button four times, display dU2 (for 1 second), and then normally display 0060 (channel 2 duty cycle 60%)
6 Click the SET button five times to display PF3 (for 1 second), and then normally display 0300 (channel 3 frequency 300HZ)
7 Click the SET button six times, display dU3 (for 1 second), and then normally display 0070 (channel 3 duty cycle 70%)
Example 2:
Set channel 1 to: frequency 1000HZ, duty cycle 40%
1 Powered on PWM9B03 module , the PWR indicator is on, and the digital tube is off
2 Press and hold the SET button for 3-5 seconds, first display PF1 (for 1 second), and then flash the number
3 Click the UP/DOWN button to adjust the number to 1000 (frequency 1000HZ)
4 Press and hold the SET button for 3-5 seconds for the second time, first display dU1 (for 1 second), and then flash the number
5 Click the UP/DOWN button to adjust the number to 0040 (40% duty cycle)
6 Re-power
Example 3:
Set channel 3 to: frequency 10.12KHZ, duty cycle 60%
1 Powered on PWM9B03 module, the PWR indicator is on, and the digital tube is off
2 Press and hold the SET button for 3-5 seconds, first display PF1 (for 1 second), and then flash the number
3 Press and hold the SET button twice for 3-5 seconds, first display dU1 (for 1 second), and then flash the number
4 Press and hold the SET button three times for 3-5 seconds, PF2 will be displayed first (for 1 second), and then the number will flash.
5 Press and hold the SET button four times for 3-5 seconds, first display dU2 (for 1 second), and then flash the number
6 Press and hold the SET button five times for 3-5 seconds, first display PF3 (for 1 second), and then flash the number
7 Click the UP/DOWN button to adjust the number to 1012, and then click the SET button to adjust the number to 10.12 (frequency 10.12KHZ)
8 Press and hold the SET button for 3-5 seconds for six times, first display dU3 (for 1 second), and then flash the number
9 Click the UP/DOWN button to adjust the number to 0060 (60% duty cycle)
10 Re-power
Example 4:
Factory Reset
1 Powered on PWM9B03 module, the PWR indicator is on, and the digital tube is off
2 Press and hold the SET button for 3-5 seconds, first display PF1 (for 1 second), and then flash the number
3 Press the UP and DOWN buttons at the same time to restore the factory settings
4 Re-power


